
Motorcycles offer an exhilarating experience, yet they can also present a series of challenges for owners. While regular maintenance is essential for keeping your bike in top shape, there are times when even the best-prepared riders encounter unexpected issues. Understanding these common motorcycle repair problems can significantly enhance your troubleshooting skills and ensure your ride remains smooth and safe.
From electrical failures to engine troubles, motorcycle repairs often require a blend of mechanical knowledge and a keen eye for detail. Common issues such as battery problems, fuel system malfunctions, and tire wear can be frustrating, but with the right approach, most issues can be diagnosed and resolved without requiring a visit to a mechanic. This article will explore these frequent repair challenges and provide practical tips on how to fix them effectively.
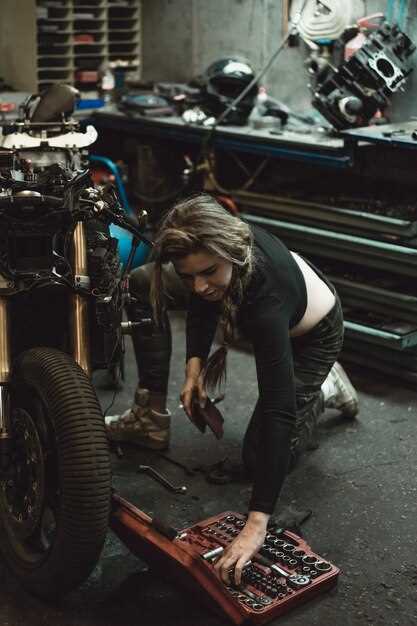
Gaining familiarity with the intricacies of motorcycle maintenance can save time and money while also empowering you as a rider. Equipped with basic tools and a solid understanding of your motorcycle’s components, you can tackle many common issues head-on. Join us as we delve into the fundamental repair dilemmas that every motorcyclist might face and discover the solutions that will keep your machine running smoothly.
Diagnosing Electrical Problems in Motorcycles

Electrical issues in motorcycles can manifest in various ways, from starting problems to lighting failures. The first step in diagnosing these problems is to gather information about the symptoms. Noting when the issue occurs can help identify the root cause, whether it’s during starting, while riding, or when using accessories.
Begin by checking the battery, as it is the heart of the electrical system. Ensure that the battery terminals are clean and tightly connected. Use a multimeter to measure the voltage; a healthy motorcycle battery should read around 12.6 volts when fully charged. If the voltage is low, try jump-starting the motorcycle or charging the battery to see if it resolves the issue.
If the battery is in good condition, the next step is to inspect the wiring and connections. Look for signs of wear, corrosion, or loose connections. Broken or frayed wires can cause intermittent issues, so visual inspection is crucial. Pay special attention to the harnesses near the handlebars and under the seat, as these areas often endure movement and vibrations.
Check the fuses as well. A blown fuse can interrupt the electrical flow to critical components like lights or the ignition system. Replace any blown fuses with ones of the same amperage, and then test the affected system again.
If problems persist, test the motorcycle’s components such as the starter motor, ignition coils, and rectifier/regulator. Use the multimeter to measure resistance and ensure components are operating within the manufacturer’s specifications. Additionally, verify that the ground connections are secure, as poor grounding can lead to a range of electrical failures.
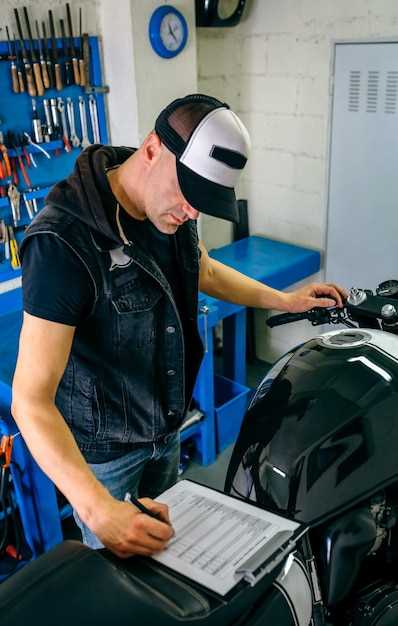
In cases where the diagnostics seem complex, consider consulting the motorcycle’s service manual for specific electrical schematics. Understanding the wiring diagram can help pinpoint issues more efficiently. If all else fails, seek assistance from a professional motorcycle repair technician who has experience with electrical systems.
Addressing Engine Overheating and Cooling System Failures

Engine overheating is a critical issue that can lead to severe damage and costly repairs. Identifying causes and implementing solutions is essential for maintaining your motorcycle’s performance. Common culprits include low coolant levels, a malfunctioning thermostat, and a clogged radiator. Regular inspections can prevent these problems from escalating.
Start troubleshooting by checking the coolant level in the reservoir; ensure it meets the manufacturer’s specifications. If it’s low, refill it with the appropriate coolant mixture, but also inspect for leaks in hoses and connections. If leaks are detected, these must be repaired immediately to prevent further overheating.
The thermostat regulates the flow of coolant through the engine. If it fails to open, the coolant cannot circulate effectively, leading to increased temperatures. To troubleshoot, test the thermostat by placing it in boiling water. If it does not open, replace it with a new one to restore proper function.
A clogged radiator can significantly impede cooling efficiency. Inspect the radiator for dirt, debris, or corrosion. Cleaning the exterior with water and mild detergent can improve airflow. Additionally, flushing the radiator with a specialized cleaner removes internal buildup, ensuring optimal coolant flow. If cleaning does not resolve the issue, consider replacing the radiator as a last resort.
It’s important also to examine the cooling fan. If the fan fails to activate or operates intermittently, overheating can occur. Test the fan’s functionality by checking the electrical connections and, if necessary, replacing the fan motor. Regular maintenance and prompt repairs are crucial to addressing engine overheating and avoiding permanent damage.
Resolving Brake Issues: Signs and Repair Techniques
Motorcycle brakes are essential for safety and control. Recognizing brake issues early can prevent accidents and costly repairs. Common signs of brake problems include unusual noises, a spongy brake lever, or a vibration during braking. It’s important to address these symptoms promptly to ensure optimal motorcycle performance.
One of the first signs of brake trouble is squeaking or grinding noises when applying the brakes. This may indicate worn brake pads, which should be inspected and replaced if necessary. To repair this issue, remove the wheel and caliper to access the pads. Replace them as needed, ensuring they are properly aligned and fitted.
A spongy brake lever often points to air trapped in the brake lines or low fluid levels. Begin the repair by checking the brake fluid reservoir for adequate levels. If low, refill with the manufacturer-recommended fluid. If the fluid is at the correct level but the lever still feels spongy, it may be necessary to bleed the brakes. Use a bleeder valve to release air, starting from the caliper and moving to the master cylinder, ensuring a firm lever feel.
Vibration during braking can signal uneven wear on the brake rotor or a warped rotor surface. To fix this, inspect the rotor for any visible damage. If warping is evident, it may require replacement or machining to restore a flat surface. Always check the rotor thickness, ensuring it is within manufacturer specifications.
Regular maintenance is key to preventing brake issues. Routinely inspect brake pads, fluid levels, and rotors. Cleaning brake components can also enhance performance and longevity. Adhering to service intervals as outlined in your motorcycle’s manual can help catch problems early without significant repairs.
