
The clutch cable is a vital component of any motorcycle, playing a significant role in the performance and control of the bike. A well-adjusted cable ensures that the clutch engages and disengages smoothly, allowing for efficient gear shifting. Failure to properly adjust the clutch cable can lead to premature wear, poor throttle response, and even dangerous riding conditions.
Understanding the intricacies of your motorcycle’s clutch mechanism is essential for any rider. Over time, the clutch cable may stretch or wear out, altering its tension and affecting the overall function. An improperly adjusted clutch cable could result in a slipping clutch or difficulty in shifting gears, which can compromise safety and performance.
This article will guide you through the steps necessary to properly adjust your motorcycle clutch cable. Taking the time to maintain this critical component will enhance your riding experience, ensuring that your motorcycle operates at its best. We will cover the tools required, the adjustment process, and tips for regular maintenance to keep your clutch system in optimal condition.
Understanding Clutch Cable Function and Importance
The clutch cable plays a critical role in the operation of your motorcycle’s transmission system. It connects the clutch lever on the handlebar to the clutch mechanism in the engine, facilitating the engagement and disengagement of the clutch. Proper functioning of this cable is essential for achieving smooth gear transitions and effective power delivery.
When the clutch lever is pulled, it tightens the cable, which in turn allows the clutch plates to separate. This disengagement is crucial for changing gears without causing stress to the transmission components. The adjustments of the clutch cable can greatly influence this process. If the cable is too tight, it may lead to premature wear of the clutch plates, while a loose cable can prevent the clutch from fully disengaging, causing difficult gear shifts.
Maintaining the right tension in the clutch cable is essential for optimal performance. Regular checks and adjustments help ensure that you experience consistent control over your motorcycle, enhancing both safety and riding comfort. Understanding how to adjust the clutch cable and recognizing its importance can directly impact your riding experience and the longevity of your motorcycle’s components.
Step-by-Step Guide to Adjusting Your Clutch Cable

Proper adjustments to your motorcycle’s clutch cable are essential for maintaining smooth gear transitions and overall riding comfort. This guide will help you understand the steps necessary to make these adjustments accurately.
Step 1: Gather Tools
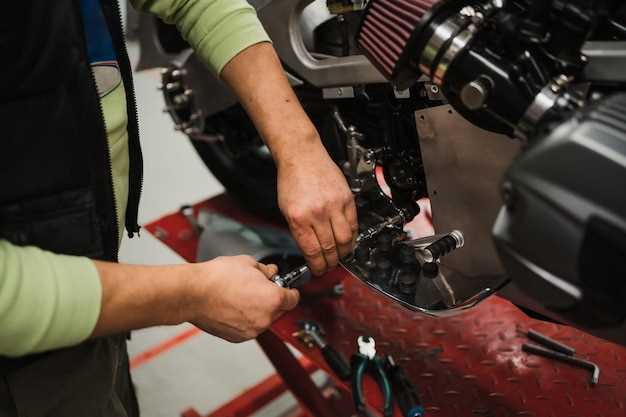
Before beginning, ensure you have the necessary tools at hand. You will need a wrench or socket set, a screwdriver, and possibly pliers, depending on your motorcycle’s clutch system components.
Step 2: Locate the Adjuster
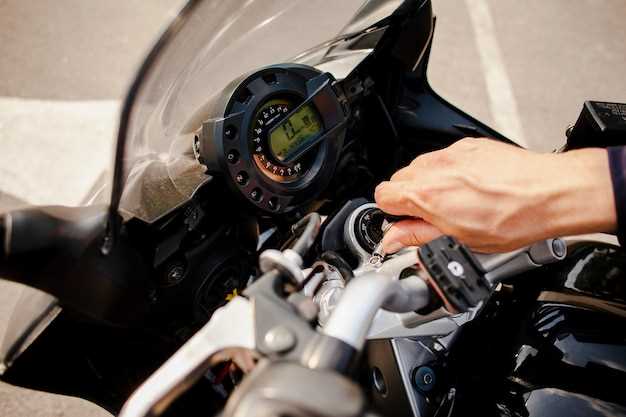
Identify the clutch cable adjuster. It is typically found at the handlebars or the clutch perch and may also be positioned near the clutch arm on the engine side. This is where you will make the adjustments.
Step 3: Check Free Play
Before making any adjustments, check the current free play of the clutch lever. Pull the lever towards the handlebar and measure how much it moves without engaging the clutch. Ideally, there should be about 1/8 to 1/4 inch of free play at the lever tip.
Step 4: Make Adjustments
If the free play is outside the recommended range, you will need to adjust the cable. To do this, loosen the lock nut on the adjuster using your wrench. Then, turn the adjuster itself: clockwise to decrease free play and counterclockwise to increase it. Ensure you frequently check the free play by pulling the lever as you adjust.
Step 5: Secure the Adjuster
Once you have the desired amount of free play, tighten the lock nut securely to prevent any movement of the adjuster during riding. Make sure the clutch cable is not pinched and is free to move.
Step 6: Test the Clutch
After adjustments, start your motorcycle and test the clutch operation. Pull the lever and ensure it smoothly engages and disengages the clutch. Take your motorcycle for a short ride to confirm that the adjustments have positively affected the performance.
Step 7: Repeat if Necessary
If the clutch still does not function properly after the adjustments, double-check your work and repeat the process as necessary. It may take a few attempts to achieve the perfect setting for your riding style.
Regular maintenance of your motorcycle’s clutch cable is crucial for optimal performance. Following this step-by-step guide will help ensure a smooth and responsive riding experience.
Troubleshooting Common Clutch Cable Issues

Maintaining the proper function of your motorcycle’s clutch cable is essential for a smooth riding experience. Several common issues can arise that may require adjustments or repairs. Understanding these problems can help you address them quickly.
1. Poor Clutch Engagement
If your clutch does not engage properly, the first step is to check the cable tension. A loose cable can prevent the clutch from fully engaging, leading to slipping. Make necessary adjustments to ensure that the cable is neither too tight nor too slack.
2. Difficult Clutch Pull
A hard-to-pull clutch lever may indicate that the cable is frayed or damaged. Inspect the cable for wear and tear. If the cable appears to be in poor condition, replacing it is advisable. Additionally, ensure that the cable routing is smooth and free from kinks that could impede movement.
3. Clutch Slipping
If you experience clutch slipping, it may not always be a cable issue; however, improper adjustment can exacerbate the problem. Make sure the cable is adjusted correctly, allowing for full engagement of the clutch plates. If slipping persists, inspect the clutch components for wear.
4. Cable Sticking
A sticking clutch cable can result in an erratic clutch feel. This often occurs due to a lack of lubrication or dirt accumulation within the cable sheath. Ensure the clutch cable is adequately lubricated with a compatible lubricant and that the sheath is clean. If the sticking continues, consider replacing the cable.
5. Unusual Noises
Listen for any unusual noises coming from the clutch lever area. Squeaking or grinding sounds may indicate that the cable is misaligned or that the clutch mechanism requires attention. Examine the components closely and make sure everything is properly aligned to prevent further issues.
Regular checks and adjustments of your motorcycle’s clutch cable can prevent many common issues and enhance riding safety. If problems persist despite troubleshooting, consulting a professional mechanic may be necessary.
